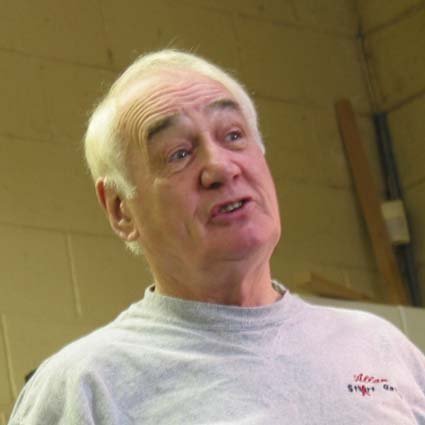


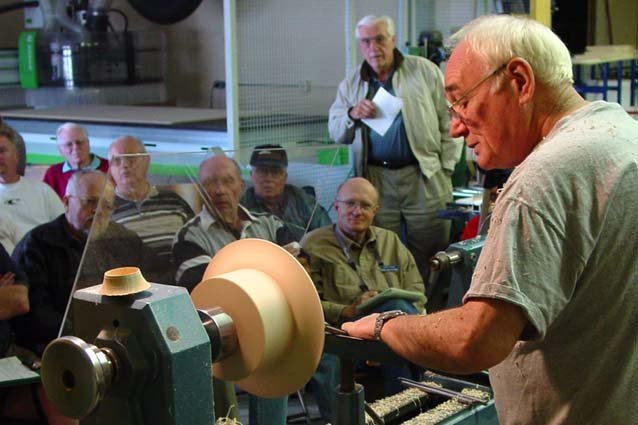


On Oct. 23, 2004 we were pleased to have Allan Batty in the shop for an all day demo. President Jim Rinde introduced Allan, whom he had seen demonstrate in the past and his introduction of the Master of Masters, a wizard of woodturning proved to be most appropriate. Paulo Marin and Seth Mac Arthur were just back from spending a week with Allan at Steve Dunn’s woodturning school and both commented that it was a wonderful learning experience.
Allan’s presentation was sprinkled with delightful stories about the history of the woodturning trade and tools in Great Britain. Allan has been turning since he apprenticed at age 15. He wouldn’t tell us how old he is [He said he had been turning for 55 years (=70 and looking 60)] but he has a lifetime of experience and it shows. After a great and enjoyable demo from Stuart Batty last month, today we heard the other side of the story from Stuart’s dad. The only thing that could have been better would have been to get them together at the same time.
Allan gave those present the opportunity to decide what they wanted to see him turn and the first request was to go over the use of the skew chisel.
Some key points included:
- Lathe speed should be as fast as you are comfortable with to get clean cuts.
- Only grind the skew edge for hard wood. Hone the edge for soft wood.
- Rock the handle of the skew up and down rather than pushing the blade into the work. This creates a slicing action, providing cleaner cuts.
- Skew bevel angle = 40°. This allows work on both hard and soft woods. A narrower angle leaves the edge too fragile; a wider angle doesn’t allow a sharp enough edge. This angle is achieved by grinding a blade bevel that is 1½ times as wide as the thickness of the tool.
- Relieve the bevel below the long point. This is a subtle rounding of the tool edge just before the tip of the point and is actually on the side edge of the bevel. This allows the skew to make shallow cove cuts without scoring the work.
Allan has produced an excellent DVD in his “Allan Batty Masterclass” series on the skew chisel. It covers all the fine points of using the skew and comes with a nice pamphlet to assist the turner on learning the use of this tool. He gave the club a copy of this on DVD and this is very clear with good close up views.
Allan passed along a good tip for all tools and cuts regarding stance and balance. Check to see if you can start and finish the cut without moving your feet, while maintaining your balance, this provides much better control throughout the cut.
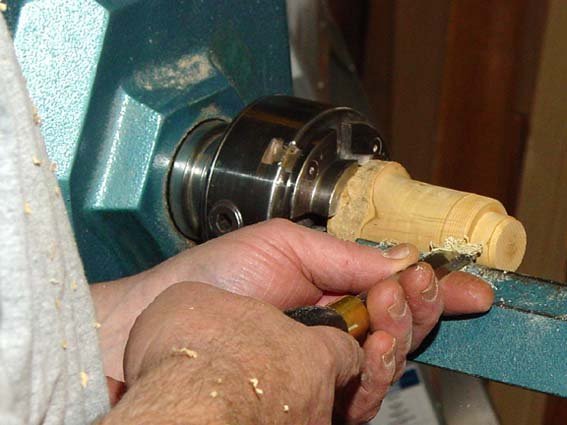
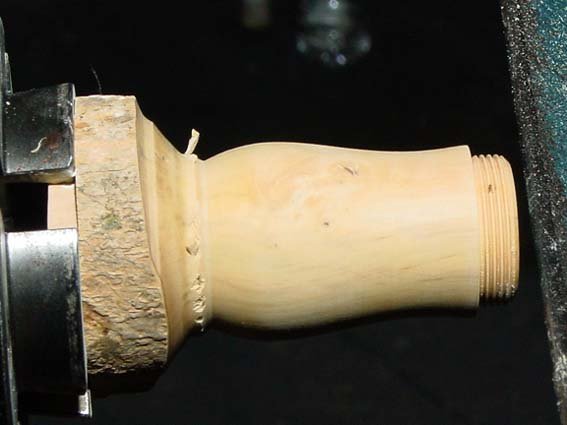
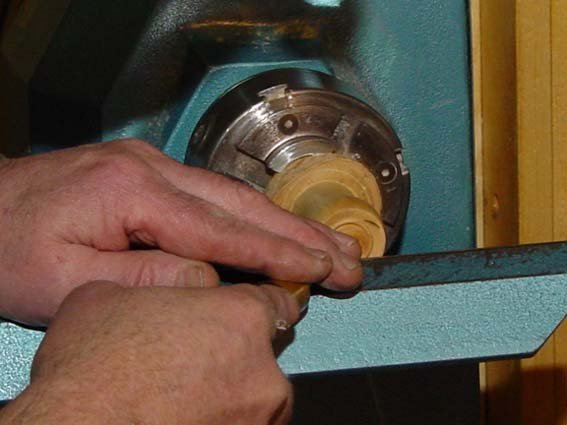
Allan completed a number of projects that were both interesting and entertaining. They included a threaded mushroom shaped box, a spherical puzzle box made from alternative ivory, a platter and laying out and turning cabriolet legs
- Threaded Mushroom Shaped Box
- This box was made from English Box Wood which is very fine grained and also hard.
- The box incorporates hand cut threads to fix the top to the bottom. Allan gave a complete explanation of how to cut threads on both I.D. and O.D. surfaces. He explained the tools and how to sharpen them.
- A jam type chuck with tapered threads was used to hold the bottom of this box to finish off the base which worked very well as a holding device.
- Allan noted, for course woods that do not cut cleanly, a poured in-fill of colored epoxy works great to cut threads into. He creates this by cutting a grove in the wood where he wants the threads, pours in the colored epoxy he has prepared, and then waits at least 3 to 7 days before removing the wood and cutting the threads in the epoxy.
- Again, Allan provides another excellent DVD in his “Allan Batty Masterclass” series on hand cut threads that includes a pamphlet. It’s everything you need to know to get started. He also gave the club a copy of this DVD. If you are going to do thread chasing this is a must see DVD as it gives close views and diagrams on how to start the threads.
- Some interesting points from this project included:
- Use the shadow of the tool rest with a light behind it to determine if the bottom of the box is flat.
- The secret to cutting threads is learning the rhythm.
- 20 threads per in. thread chasers are best to learn with. Don’t buy course threaded chasers.
- Polish the box off the lathe.
- Allan uses Vonax polishing compound – for silver – made in England.
- Lustre polishing compound for darker woods.
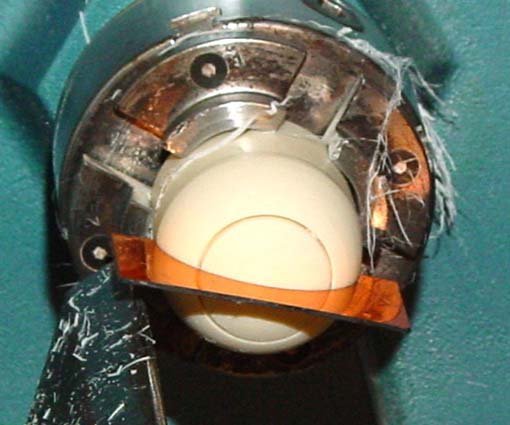
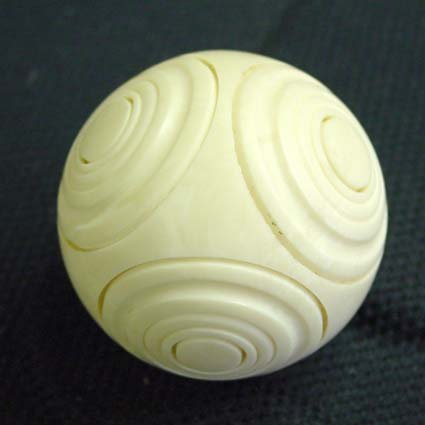
- Spherical Puzzle Box in Alternative Ivory
- A negative angle scraper was used to cut the alternative ivory.
- Here the unhandled scraper blade is supported with an arm rest. This allows the tool support to get close to the work.
- There is no burr on the edge of these scrapers, they are honed.
- The sphere is cut using a template as a gauge
- After rounding past center on the sphere, the blank is reversed in a jam chuck.
- The chuck should grab the sphere 10° – 15° shy of the center.
- The chuck should have a slight inside taper (2-3 degrees), larger at the front, smaller at the back.
- After the sphere is round, decorations (bead & cove) are cut on 6 sides.
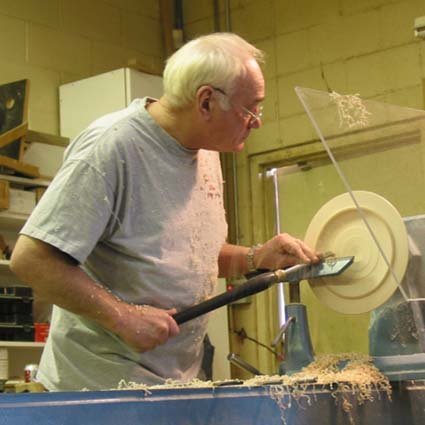
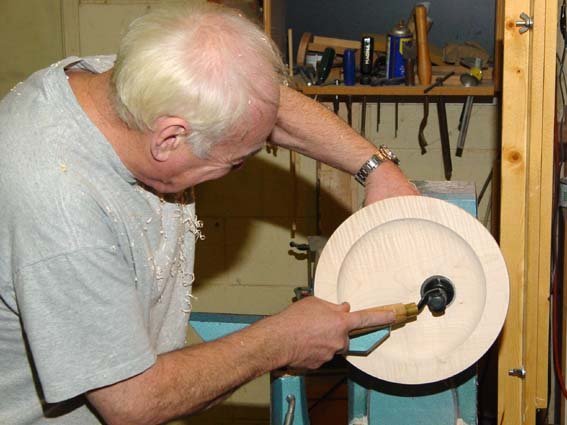
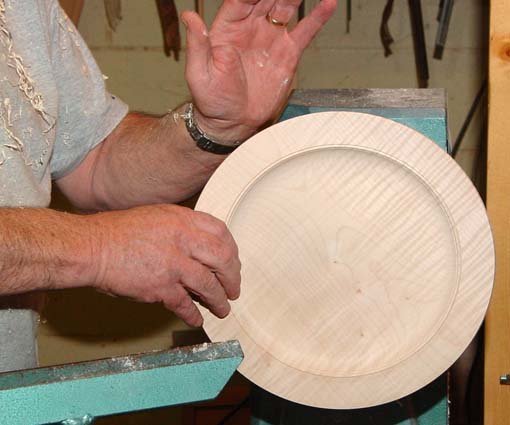
- Platter
- The platter blank is first mounted on a screw chuck.
- The bottom of the platter is cut first with a 1/8” high, large dia. spigot.
- When the bottom is finished, the platter is removed from the screw chuck and fit on a jam chuck to cut and finish the top.
- The front is faced off and then hollowed in the center area, working from the screw chuck hole out, to remove the hole.
- Allan cut a small bead between the edge and the hollowed center with a point tool creating a very nice detail.
- Cabriolet Legs
- Allan demonstrated two types of Cabriolet legs, one with the top of the turned section of the leg centered in the blank and one with the top of the turned section of the leg moved to the forward corner of the blank.
- These are turned using a skew chisel and a spindle gouge and were quite different looking
Allan’s tool technique requires almost no sanding and is beautifully executed. The opportunity to see a legend in action was a turner’s dream.